How to Install Magento 2.4.3 + elasticsearch using docker – Ubuntu 20.04
- Step : 1 – Installing the PHP 7.4 and PHP Extenisons
- Step : 2 – Installing the Global Composer
- Step : 3 – Installing the docker Community Edition
- Step : 4 – Create a magento project using the composer
- Step : 5 – Installing the docker-compose
- Step : 6 – Setting up the docker-compose.yml
- Step : 7 – Running the docker build
- Step : 8 – Magento Installation Setup using the Command line
Step : 1 – Installing the PHP 7.4 and PHP Extenisons
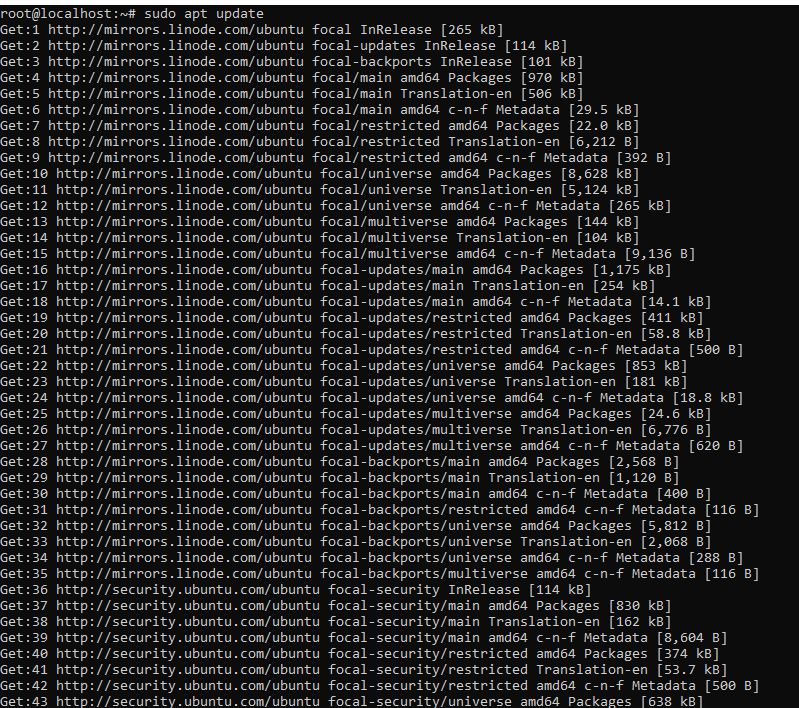
Run the following command to update apt-get itself, which ensures that you have access to the latest versions of anything you want to install:
sudo apt-get update
Next, install software-properties-common, which adds management for additional software sources:
sudo apt -y install software-properties-common

The -y flag will automatically agree to the installation. Without that, you would receive a prompt in your terminal window for each installation.
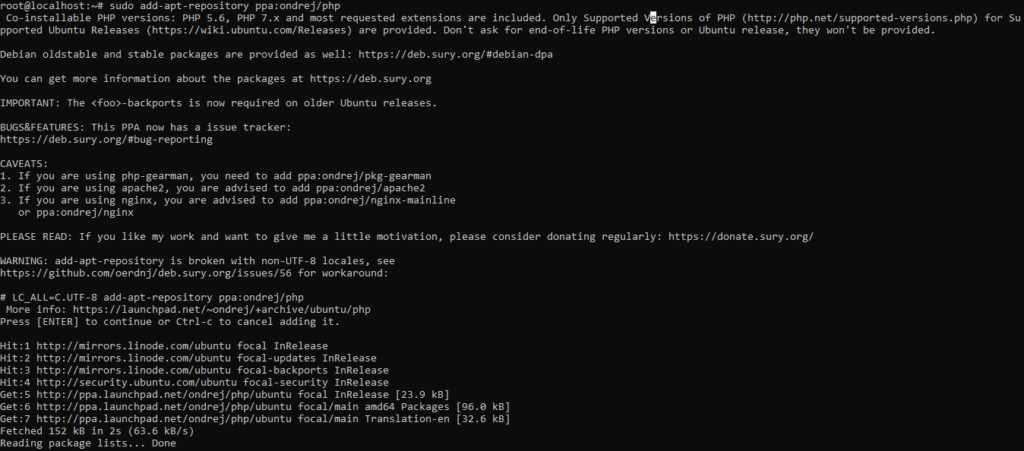
Next, install the repository ppa:ondrej/php, which will give you all your versions of PHP:
sudo add-apt-repository ppa:ondrej/php
Finally, you update apt-get again so your package manager can see the newly listed packages
sudo apt-get update
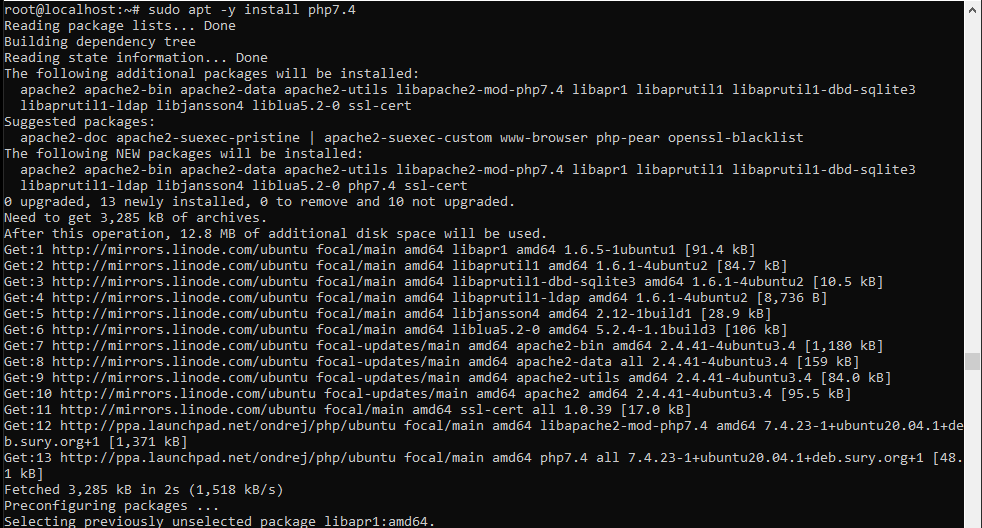
Now you’re ready to install PHP 7.4 using the following command:
sudo apt -y install php7.4
Check the version installed:
php -v

You will receive something similar to the following:
Besides PHP itself, you will likely want to install some additional PHP modules. You can use this command to install additional modules, replacing PACKAGE_NAME with the package you wish to install:
sudo apt-get install php7.4-PACKAGE_NAME
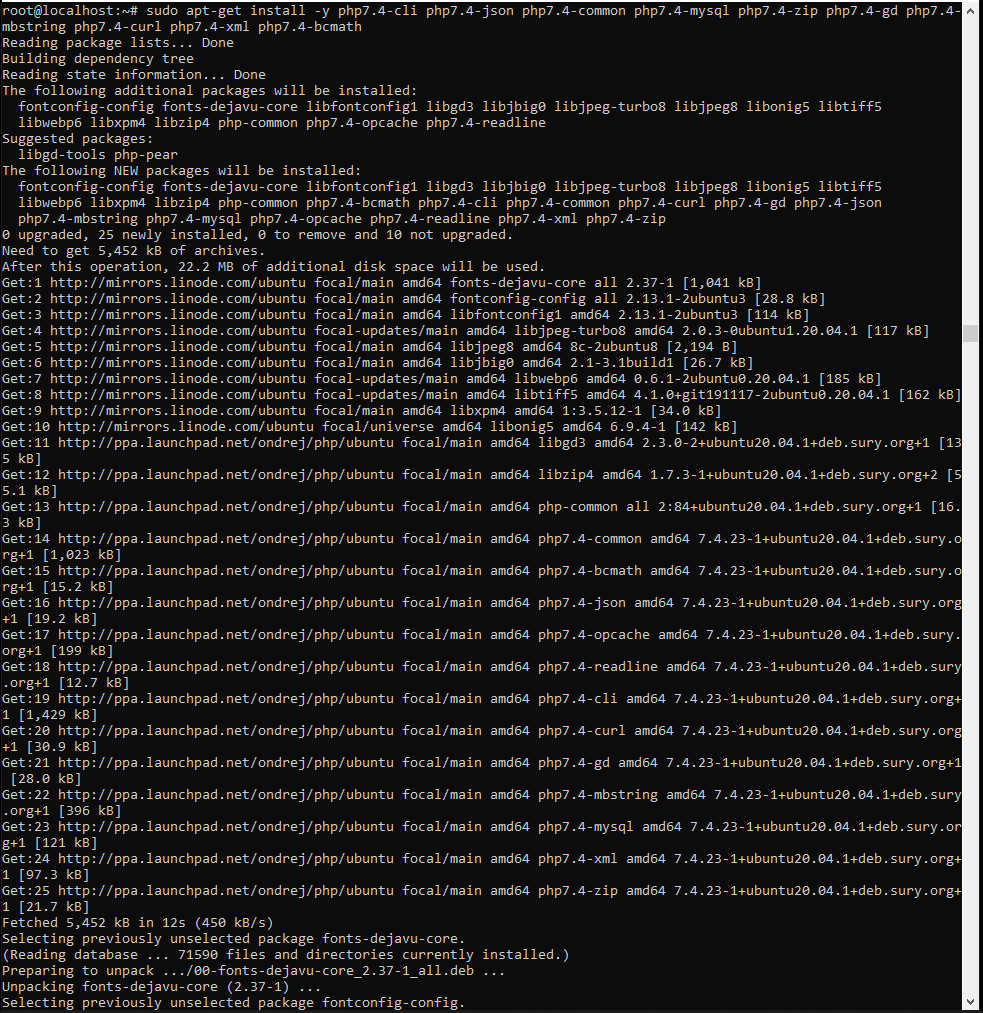
You can also install more than one package at a time. Here are a few suggesions of the most common modules you will most likely want to install:
sudo apt-get install -y php7.4-cli php7.4-json php7.4-common php7.4-mysql php7.4-zip php7.4-gd php7.4-mbstring php7.4-curl php7.4-xml php7.4-bcmath php7.4-soap php7.4-intl
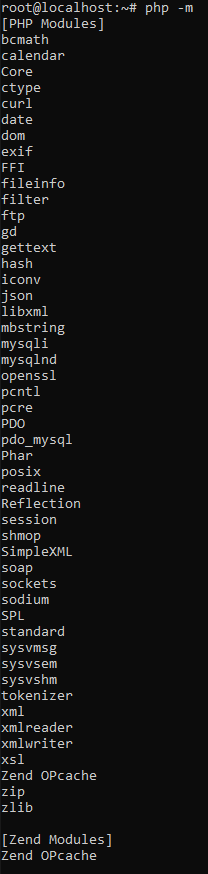
You can list all loaded PHP modules with the following command:
php -m
Step : 2 – Installing the Global Composer
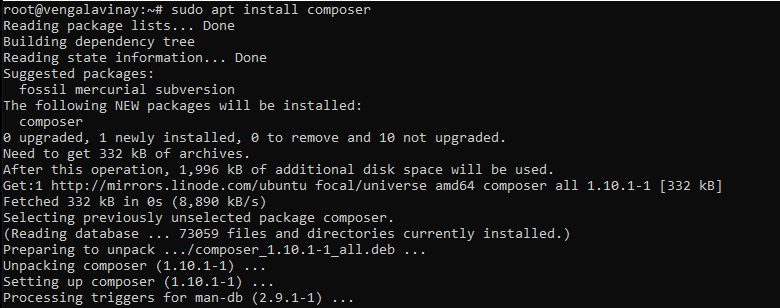
To install composer use the following the command
sudo apt install composer
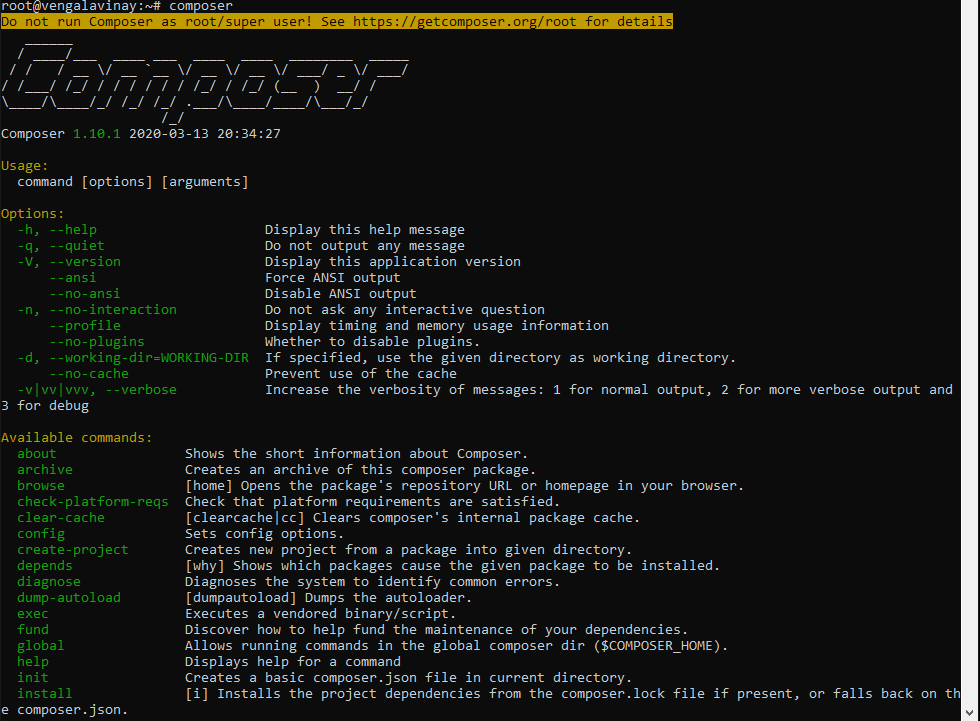
Verify the Installation using the following command:
composer
Step : 3 – Installing the docker Community Edition
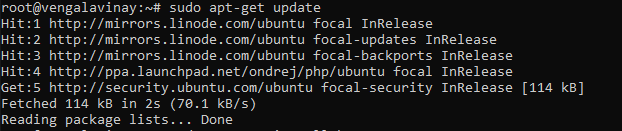
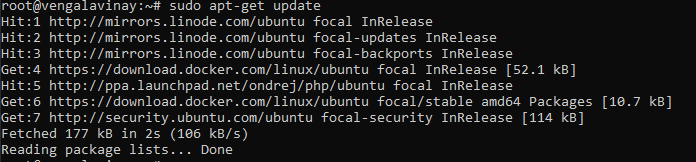
Update the apt package index and install packages to allow apt to use a repository over HTTPS:
sudo apt-get update
sudo apt-get install \
    apt-transport-https \
    ca-certificates \
    curl \
    gnupg \
    lsb-release
![]()
Add Docker’s official GPG key:
curl -fsSL https://download.docker.com/linux/ubuntu/gpg | sudo gpg --dearmor -o /usr/share/keyrings/docker-archive-keyring.gpg
![]()
Use the following command to set up the stable repository. To add the nightly or test repository, add the word nightly or test (or both) after the word stable in the commands below.

Install Docker Engine
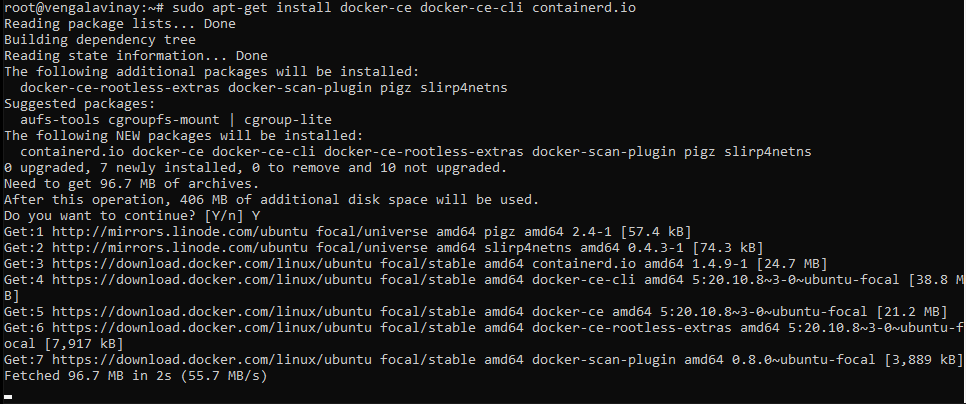
Update the apt package index, and install the latest version of Docker Engine and containerd, or go to the next step to install a specific version:
sudo apt-get update
sudo apt-get install docker-ce docker-ce-cli containerd.io
Step : 4 – Create a magento project using the composer (open source or magento commerce)
Create / Login account in the Magento marketplace and go to the access key

Create a new Composer project using the Magento Open Source or Adobe Commerce metapackage.
composer create-project --repository-url=https://repo.magento.com/ magento/project-community-edition <magento-community>

username : 818dfbe848fa3efe3ac998d0c5b13a5c
password : 46c0f0ee2397976e0f582d670ef4e8e2

5 – Installing the docker-compose
Run this command to download the current stable release of Docker Compose:
sudo apt install docker-compose
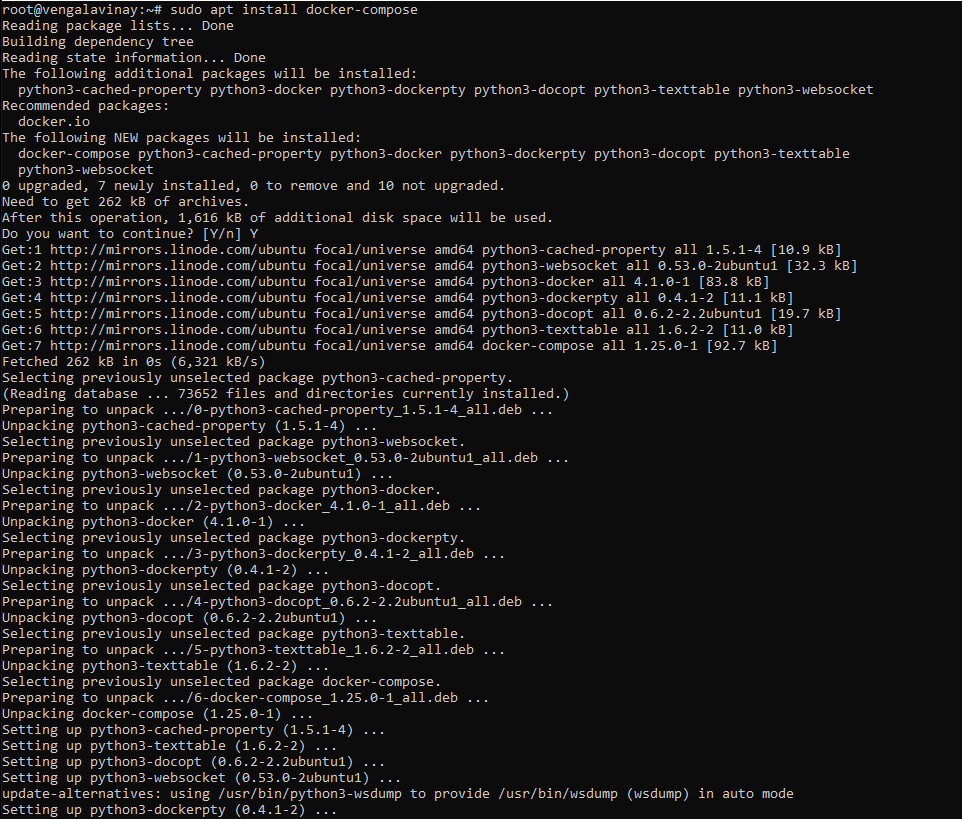
Verify the installation using the following command:
docker-compose
Step : 6 – Setting up the docker-compose.yml – PHP 7.4, MariaDB 10.2 , PhpMyAdmin and Elastic search
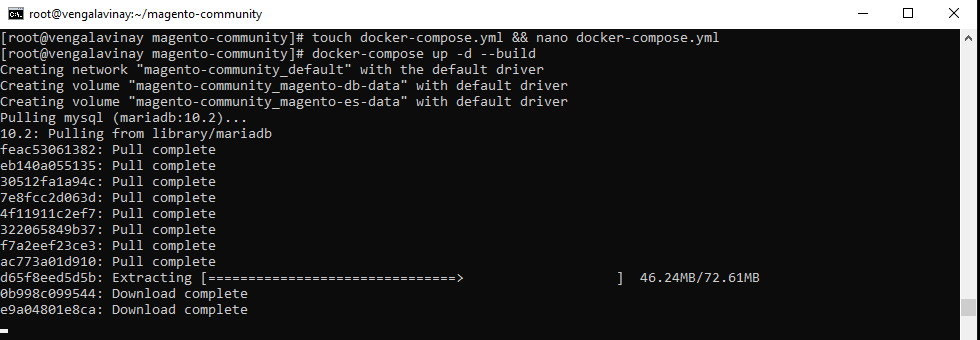
create a docker-compose-yml and copy the contents into it.
touch docker-compose.yml && nano docker-compose.yml
docker-compose.yml – replace commerce.vengalavinay.com with your domain name and replace the /root/magento-community with your Magento source path.
version: '3'
services:
    web:
        image: webdevops/php-apache-dev:7.4
        container_name: web
        restart: always
        user: application
        environment:
          - WEB_ALIAS_DOMAIN=commerce.vengalavinay.com
          - WEB_DOCUMENT_ROOT=/app/pub
          - PHP_DATE_TIMEZONE=EST
          - PHP_DISPLAY_ERRORS=1
          - PHP_MEMORY_LIMIT=2048M
          - PHP_MAX_EXECUTION_TIME=300
          - PHP_POST_MAX_SIZE=500M
          - PHP_UPLOAD_MAX_FILESIZE=1024M
        volumes:
          - /root/magento-community:/app:cached
        ports:
          - "80:80"
          - "443:443"
          - "32823:22"
        links:
          - mysql
    mysql:
        image: mariadb:10.2
        container_name: mysql
        restart: always
        ports:
          - "3306:3306"
        environment:
          - MYSQL_ROOT_PASSWORD=root
          - MYSQL_DATABASE=magento
        volumes:
          - magento-db-data:/var/lib/mysql
    phpmyadmin:
        container_name: phpmyadmin
        restart: always
        image: phpmyadmin/phpmyadmin:latest
        environment:
          - MYSQL_ROOT_PASSWORD=root
          - PMA_USER=root
          - PMA_PASSWORD=root
        ports:
          - "8080:80"
        links:
          - mysql:db
        depends_on:
          - mysql
    elasticsearch:
        container_name: elasticsearch
        image: docker.elastic.co/elasticsearch/elasticsearch:7.8.1
        environment:
          - node.name=elasticsearch
          - cluster.name=es-docker-cluster
          - discovery.type=single-node
          - bootstrap.memory_lock=true
          - "ES_JAVA_OPTS=-Xms512m -Xmx512m"
        ulimits:
          memlock:
            soft: -1
            hard: -1
        volumes:
          - magento-es-data:/usr/share/elasticsearch/data
        ports:
          - 9200:9200
volumes:
    magento-db-data:
        external: false
    magento-es-data:
        external: false
Step : 7 – Running the docker build
Run the below command to build the docker containers.
docker-compose up -d --build
if you see the below error:
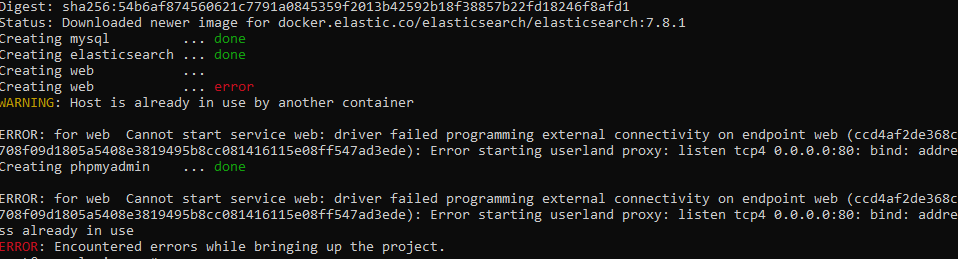
To stop the apache2 service in ubuntu:
/etc/init.d/apache2 stop
![]()
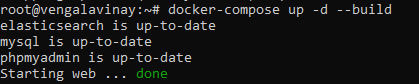
Build the docker again:
docker-compose up -d --build
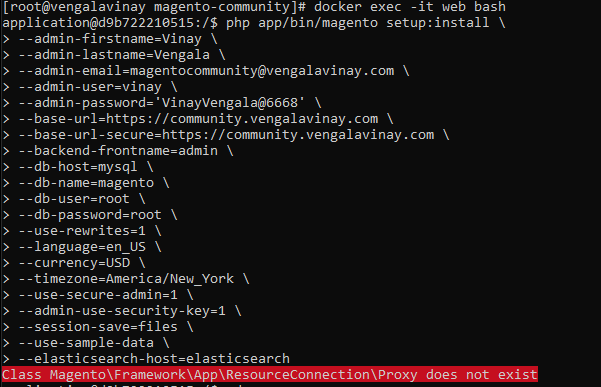
access the web container by using the below command:
docker exec -it web bash
![]()
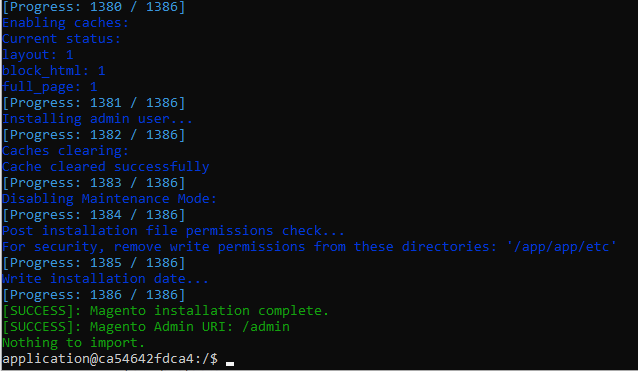
Step : 8 – Magento Installation Setup using the Command line
After acess the web container. run the below command in the web container. Change the basic details(firstname, lastname, email, user, and password) and finally change the domain name.
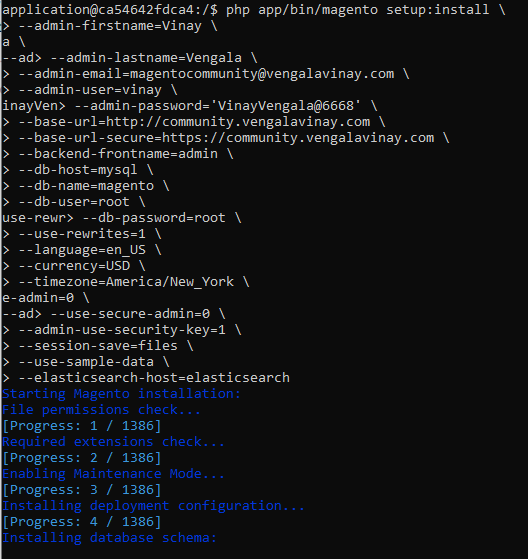
php app/bin/magento setup:install \
--admin-firstname=Vinay \
--admin-lastname=Vengala \
[email protected] \
--admin-user=vinay \
--admin-password='VinayVengala@6668' \
--base-url=http://community.vengalavinay.com \
--base-url-secure=https://community.vengalavinay.com \
--backend-frontname=admin \
--db-host=mysql \
--db-name=magento \
--db-user=root \
--db-password=root \
--use-rewrites=1 \
--language=en_US \
--currency=USD \
--timezone=America/New_York \
--use-secure-admin=0 \
--admin-use-security-key=1 \
--session-save=files \
--use-sample-data \
--elasticsearch-host=elasticsearch
if you see the below error when you are installing the magento.
Class Magento\Framework\App\ResourceConnection\Proxy does not exist
exit from the docker web container and change the permission to the folder
chmod 777 -R <magento-community/>
After successful installation.
add the following line into /etc/hosts file & by running the command below:
nano /etc/hosts
Copy the line into /etc/hosts
127.0.0.1 community.vengalavinay.com
After completion of all changes access the portals as mentioned bellow:
Magento Base : http://community.vengalavinay.com
Magento Admin : http://community.vengalavinay.com/admin
phpmyadmin: 127.0.0.1:8080
Disable Two factor Authentication in Magento 2:
php app/bin/magento module:disable Magento_TwoFactorAuth
Leave a Reply
You must be logged in to post a comment.